What does a Solar PV installation entail?

If you are considering a solar photovoltaic (PV) system, please read through our guide to give you an understanding of the steps required for installation.
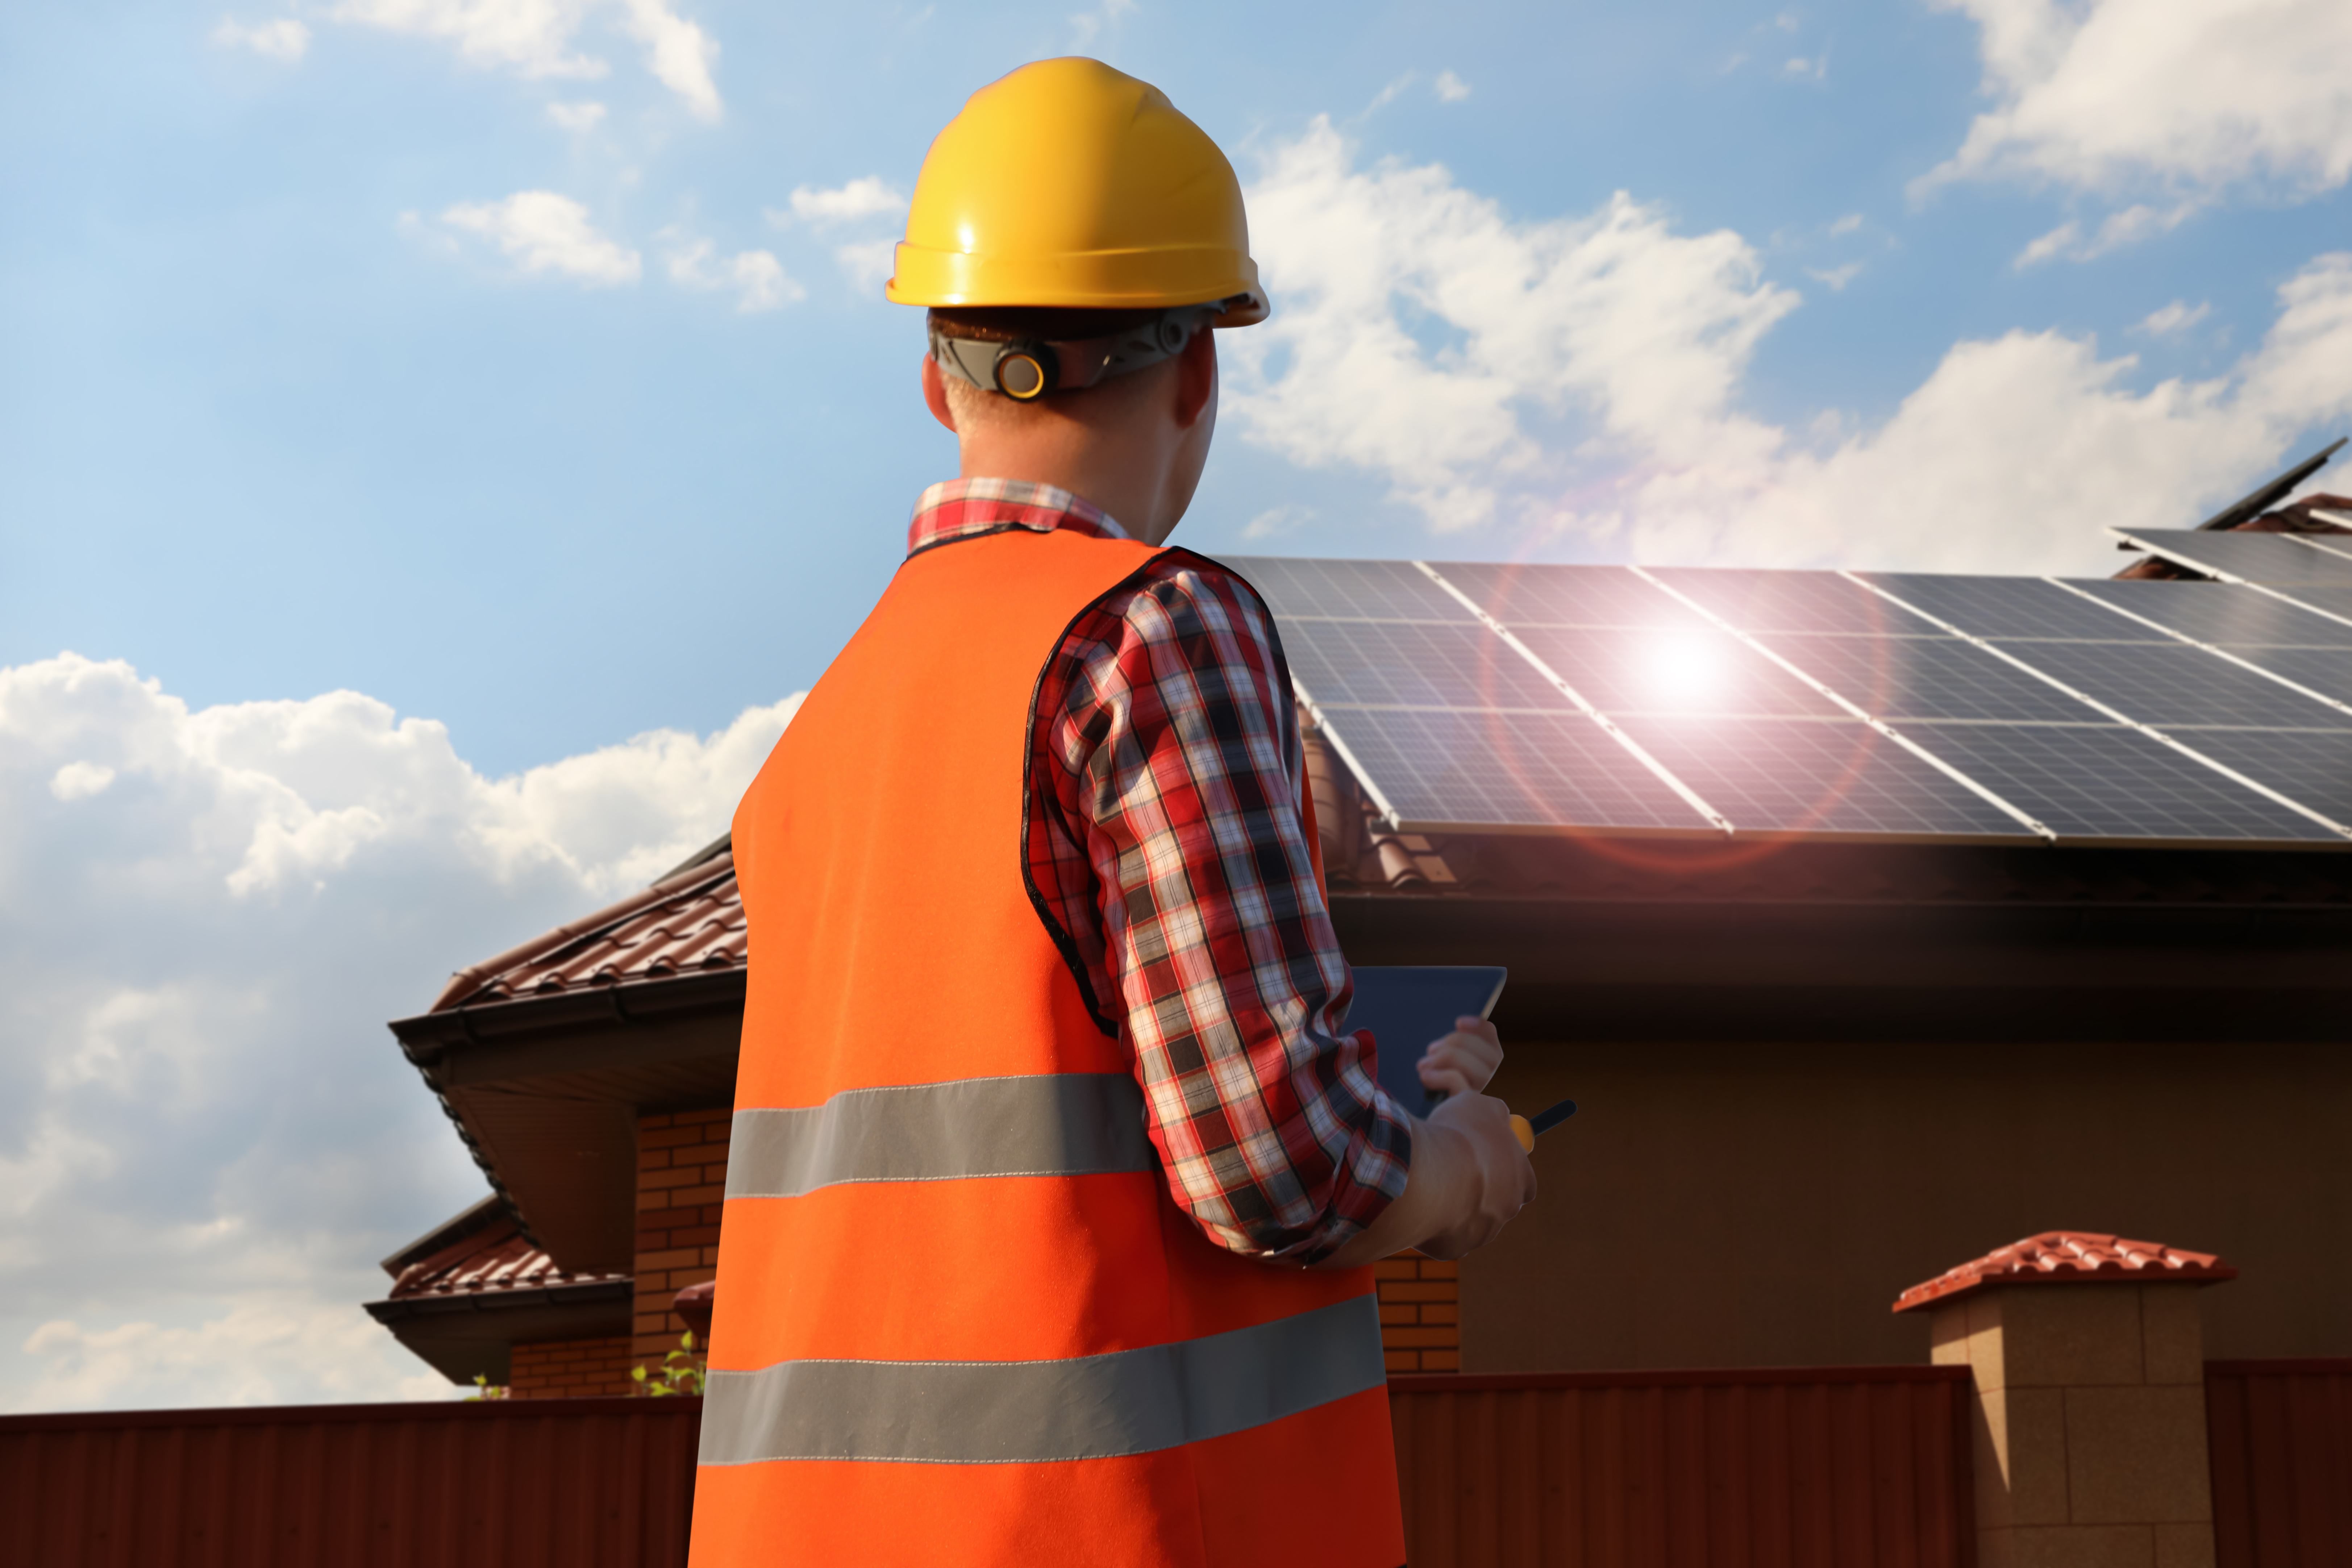
Our solar installer will attend your property to complete a visual inspection and evaluate the project site so that a quote for costs can be put together.
Once you have given the go ahead, the following installation steps will take place.
Scaffolding
Depending on the height of your property, scaffolding may be required so that our installers can complete the roof work.
Roof hooks and frames
Hooks will be fitted to your property’s roof timbers/rafters. These are used to hold metal rails which will create the framework for the solar panels to sit on.
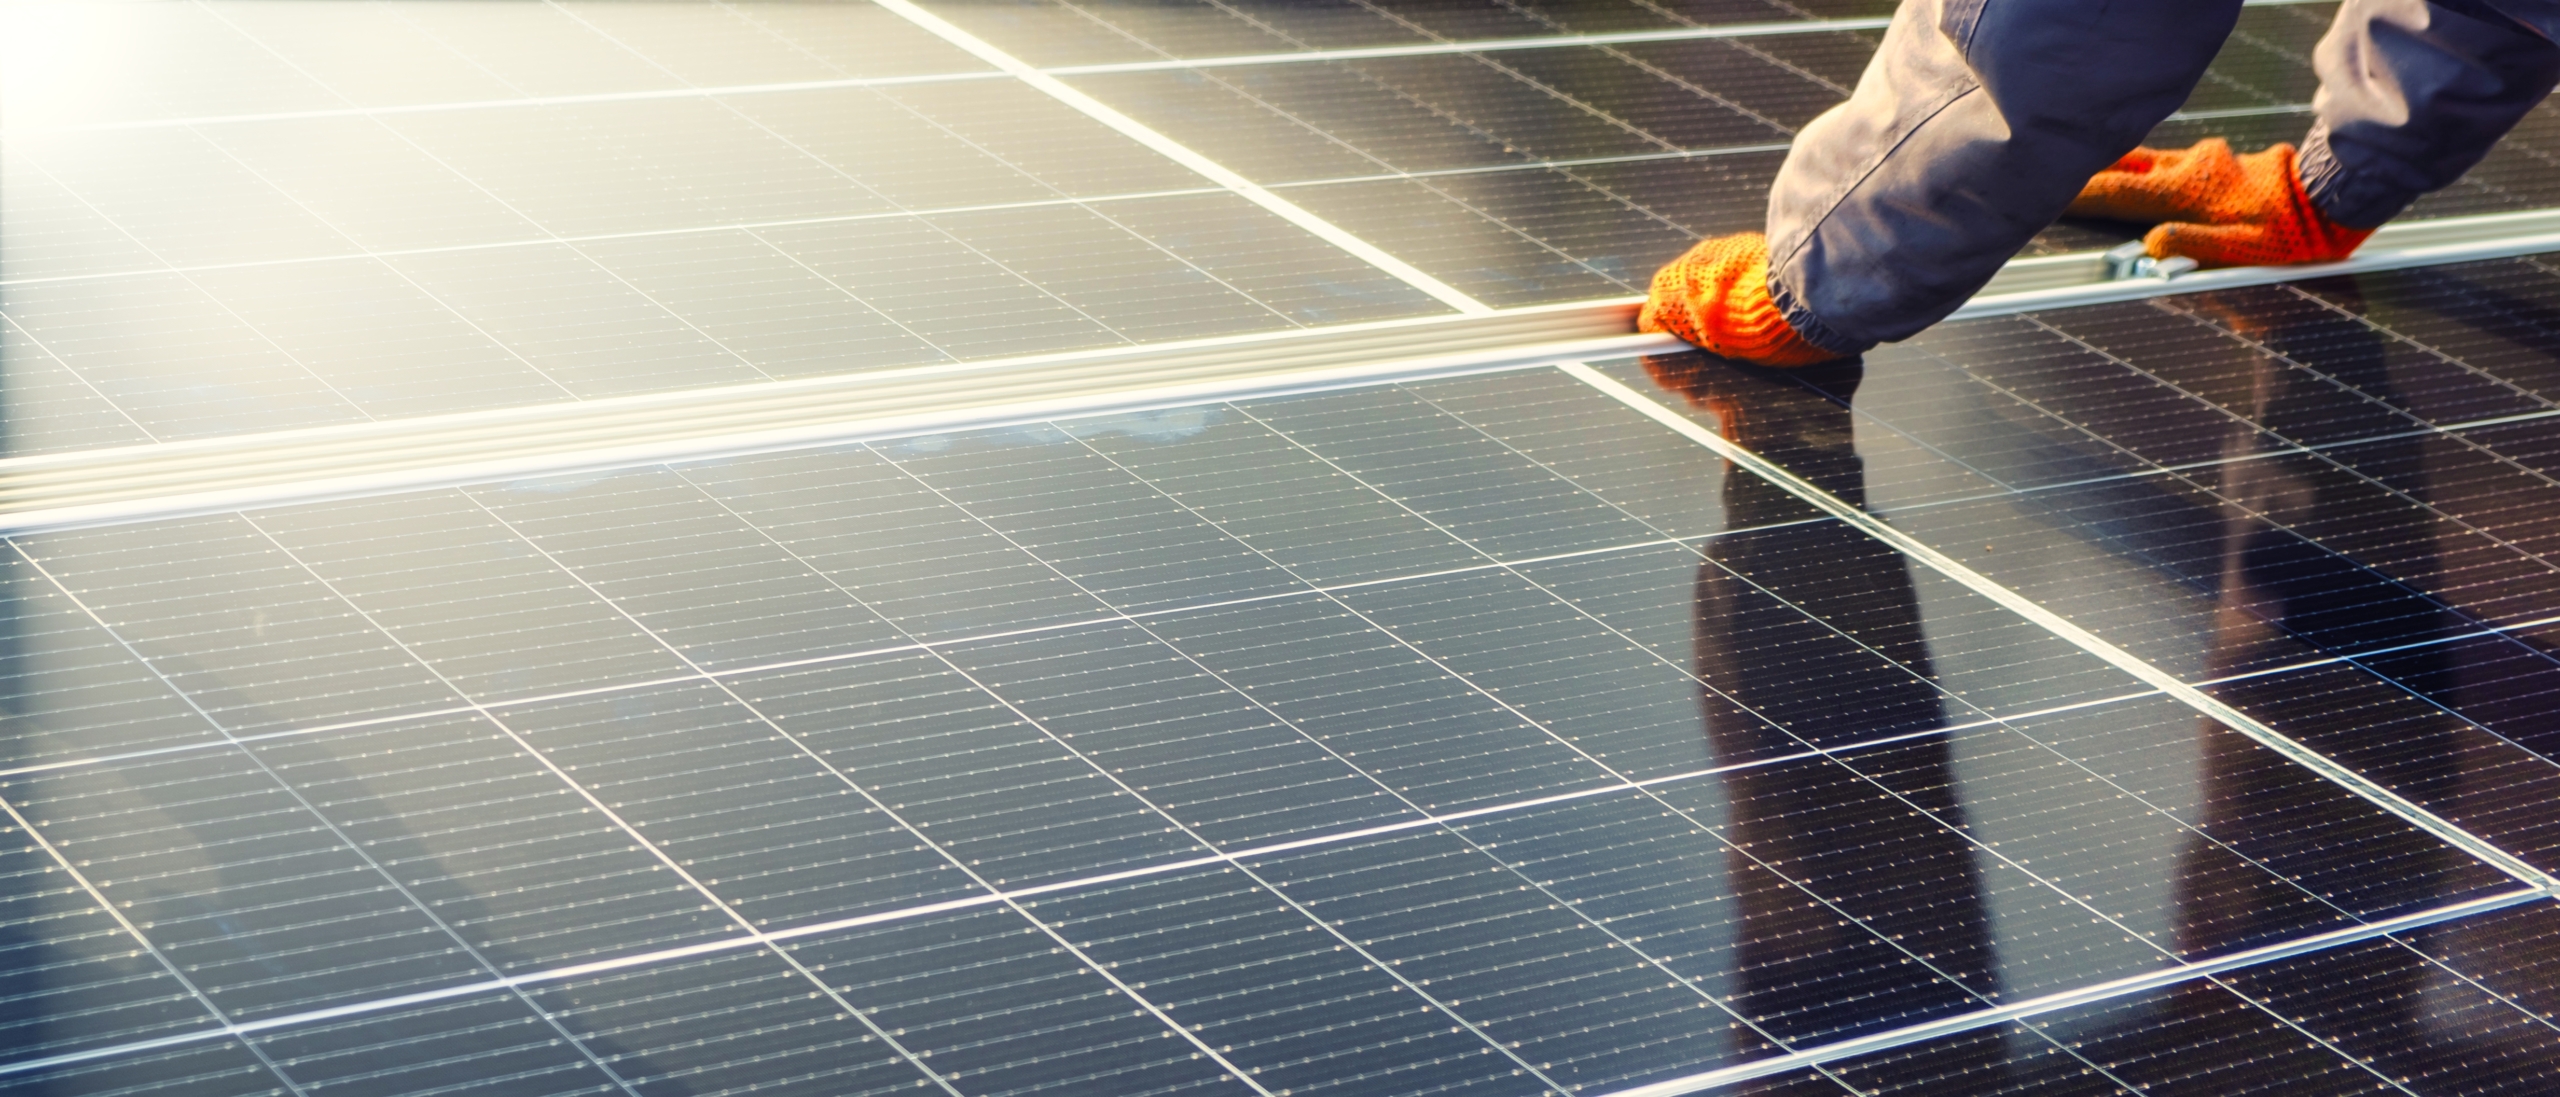
Solar Panel fitting and wiring
The solar panels will be mounted onto the framework using strong clips. Electrical wiring is then connected to the inverter.
Inverter and grid connection
The inverter works by switching the DC input from the panels into AC output, which can then be used in your property. This output is connected to your property’s electrical supply and the energy grid.
Our installers may need to turn off the electricity for a short time, while connection takes place. This should be around half an hour however our engineers will be able to advise on timings.
Final checks & completion
Our installation engineers will complete safety checks before powering up the system. Final tests will be completed to ensure that everything is working properly.
The installers will register the system with the Microgeneration Certification Scheme (MCS) and you will be given manual & warranty documentation.
Your new solar PV installation is now complete.
